How to Use Google Domain With Netlify
All sites deployed to Netlify get a subdomain which has the form [name-of-your-site].netlify.app.
But if you want your site to be accessible at your own domain name like your-name.com then you need a custom domain.
This article focuses on using your Google domain registered domain name with your Netlify site.
Add your domain to Netlify
Go to your team’s Domain page.
Enter the domain name and click on Verify
You will be asked to confirm that you own the domain name. Select Yes, add domain.
Add DNS records
Next, you will get instructions to delegate your domain to Netlify. What this means is that you will replace your domain registrar nameservers with nameservers for your Netlify DNS zone.
Just go to the team’s Domain page
Select the domain you just added
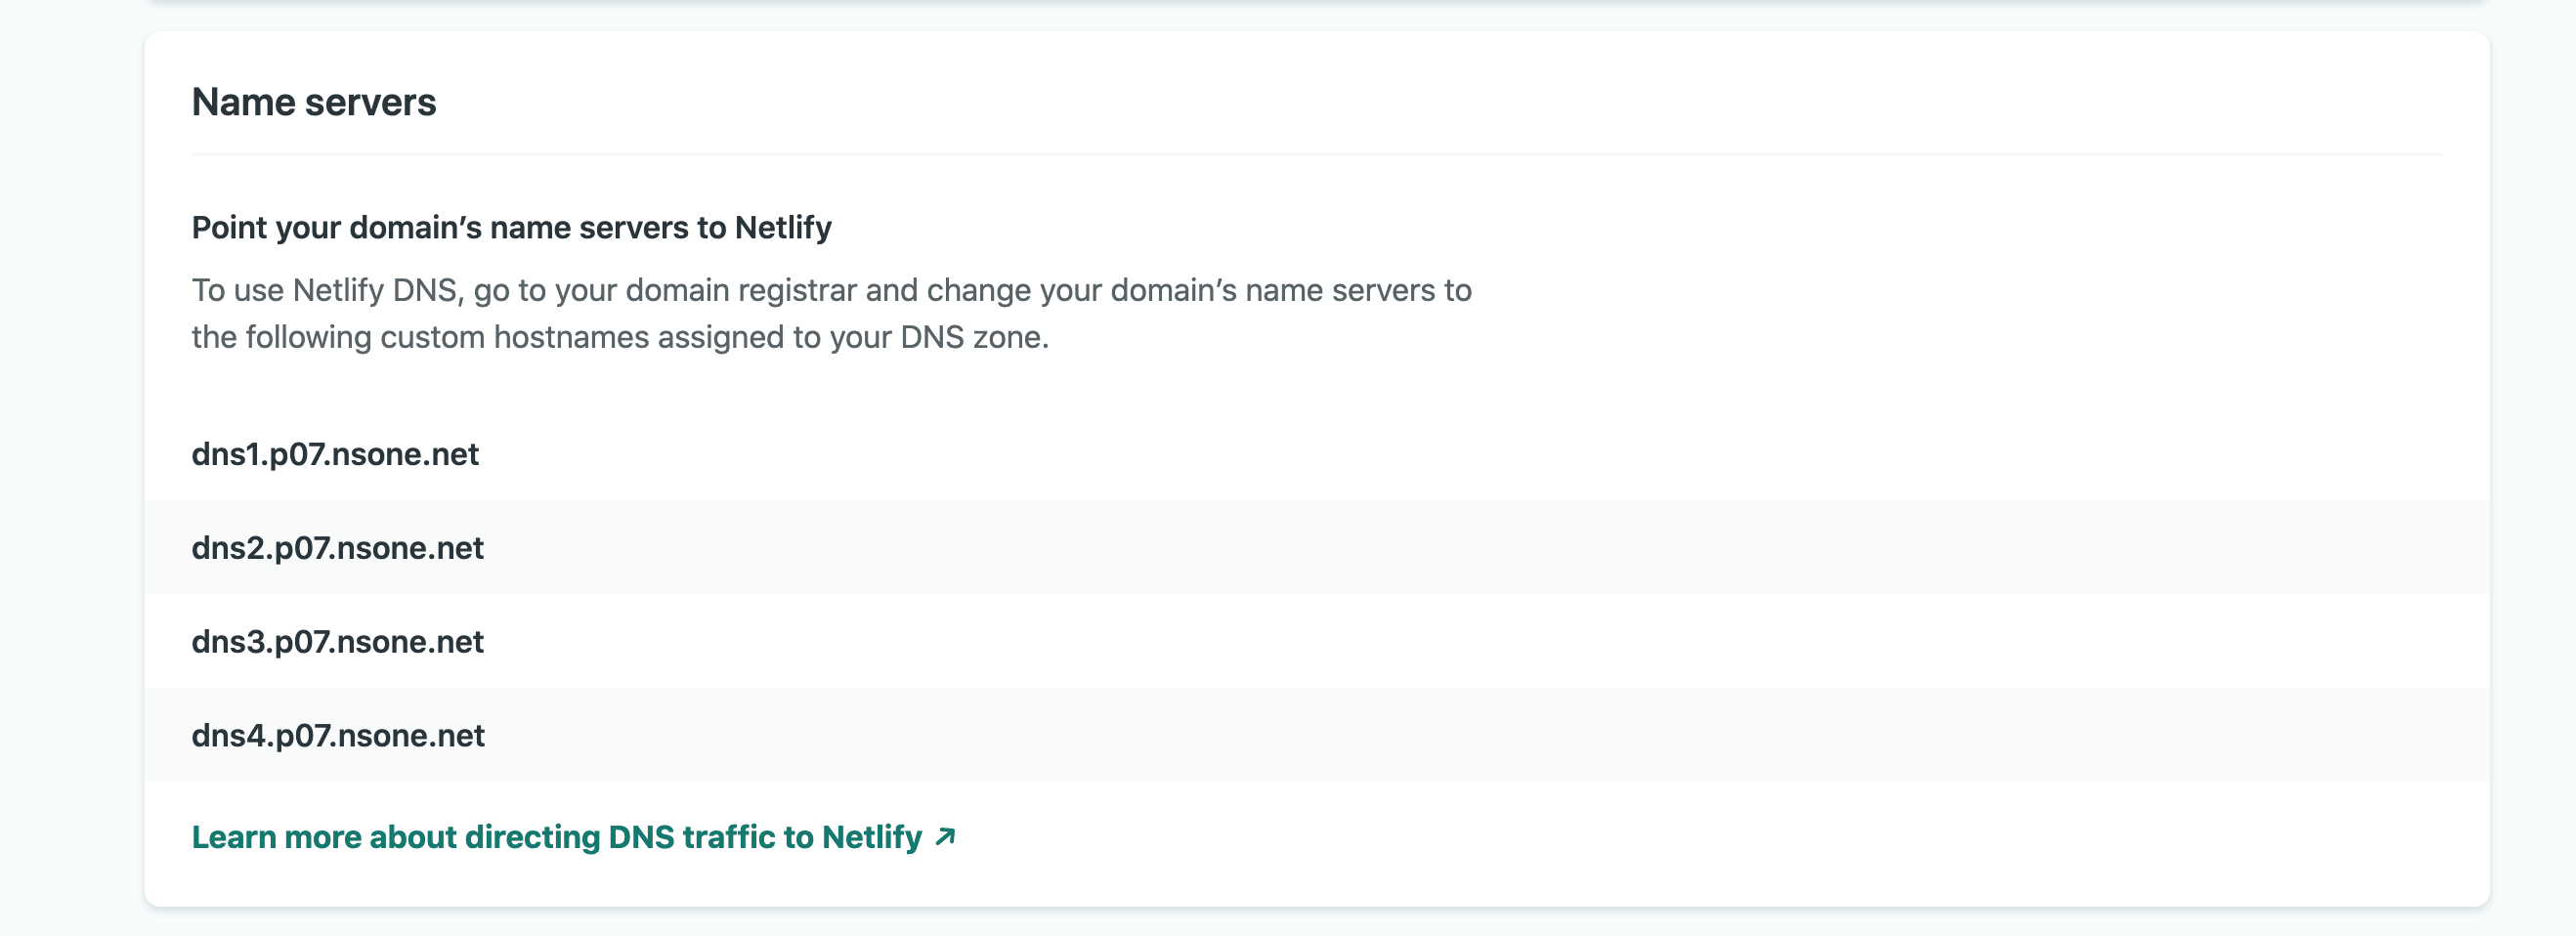
Grab the list of nameservers for your DNS Zone from the Name servers section of the page
Update Google Domains
Go to your Google Domains DNS settings page, select Use custom nameservers, then paste the Netlify nameservers.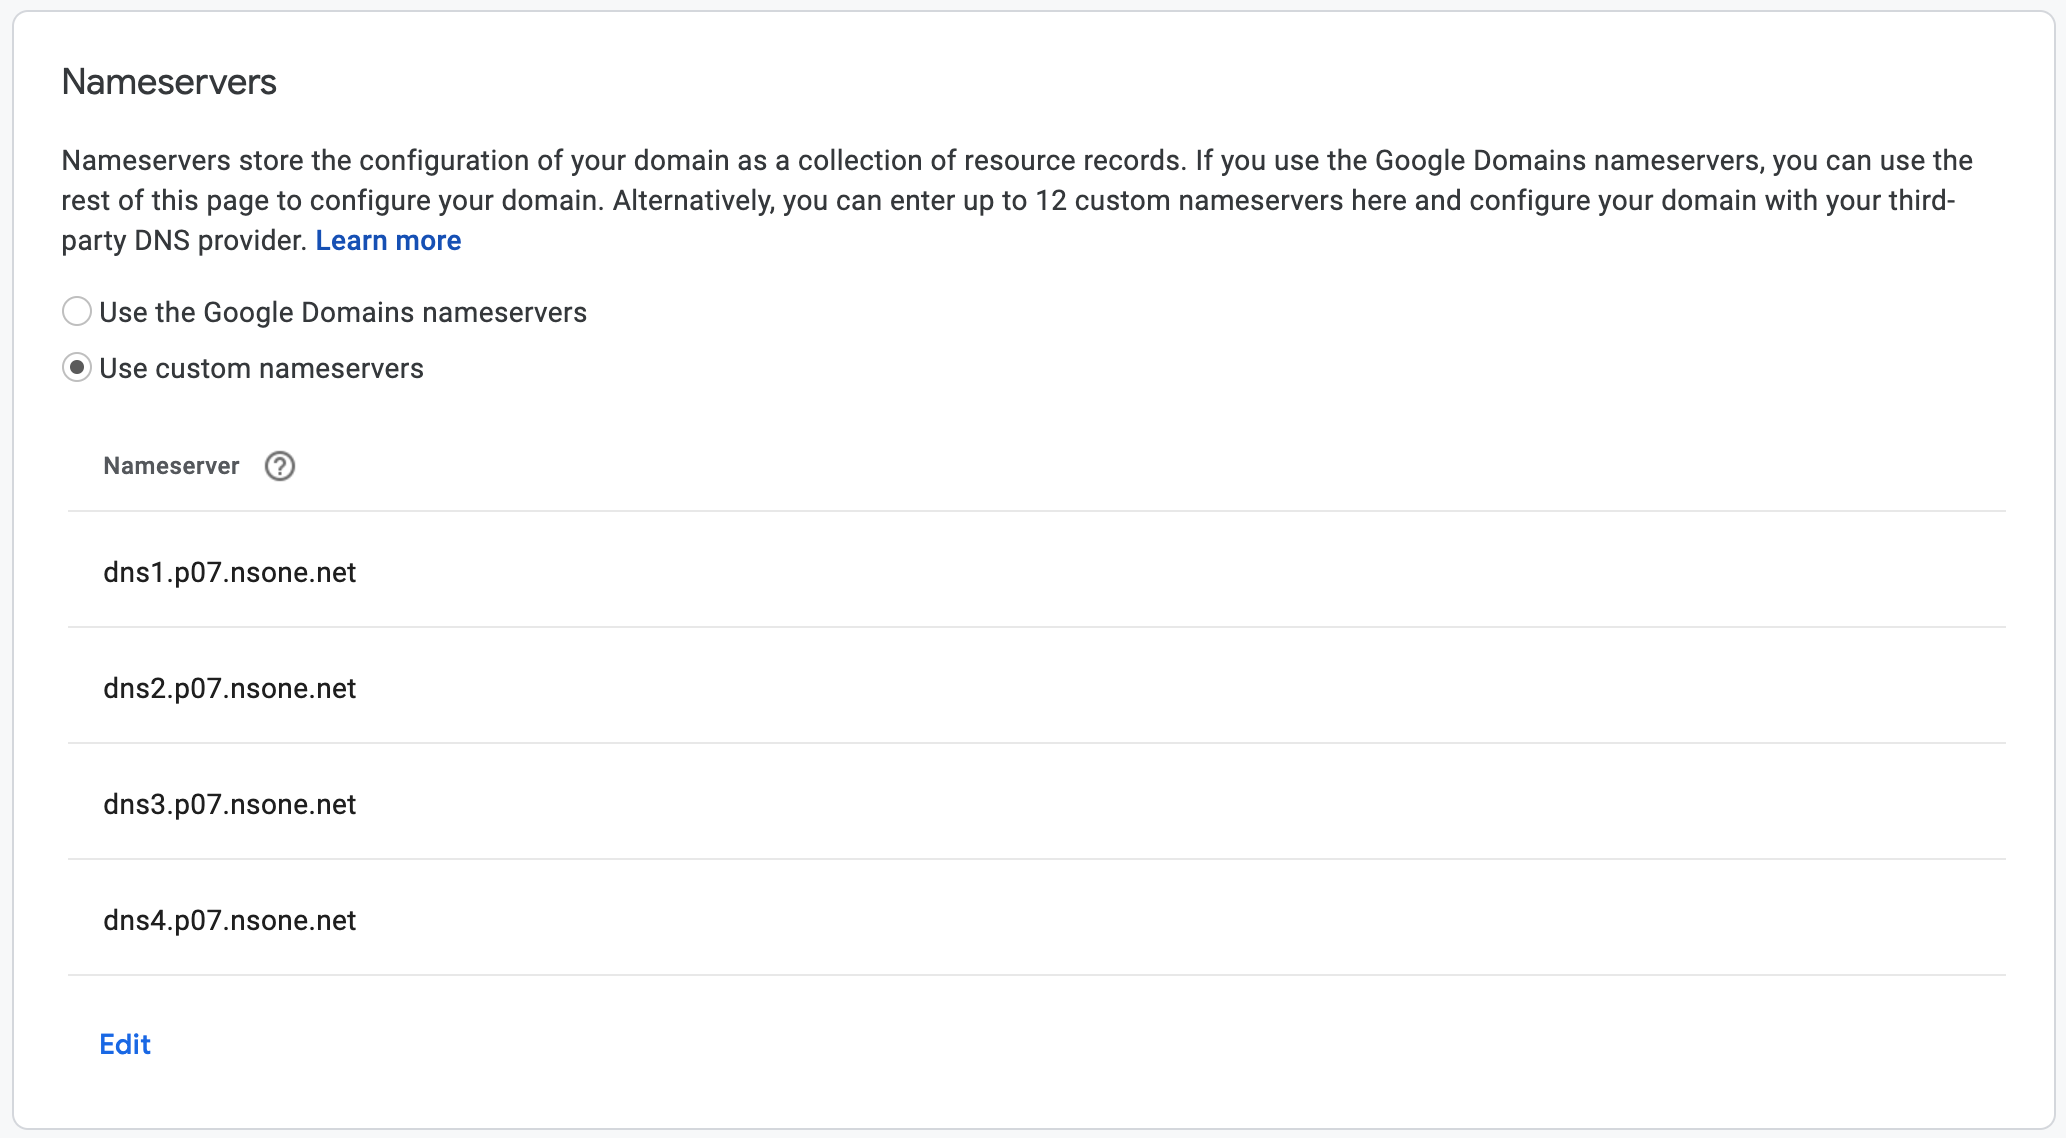
Now you’ve got your domain pointing to Netlify. It may take up to a day for the changes to propagate to the public internet.
Tests
Go to your Netlify team’s Domain page, Select the domain. The DNS records should look something like this but with your own names. You can add other types of DNS records like MX records too.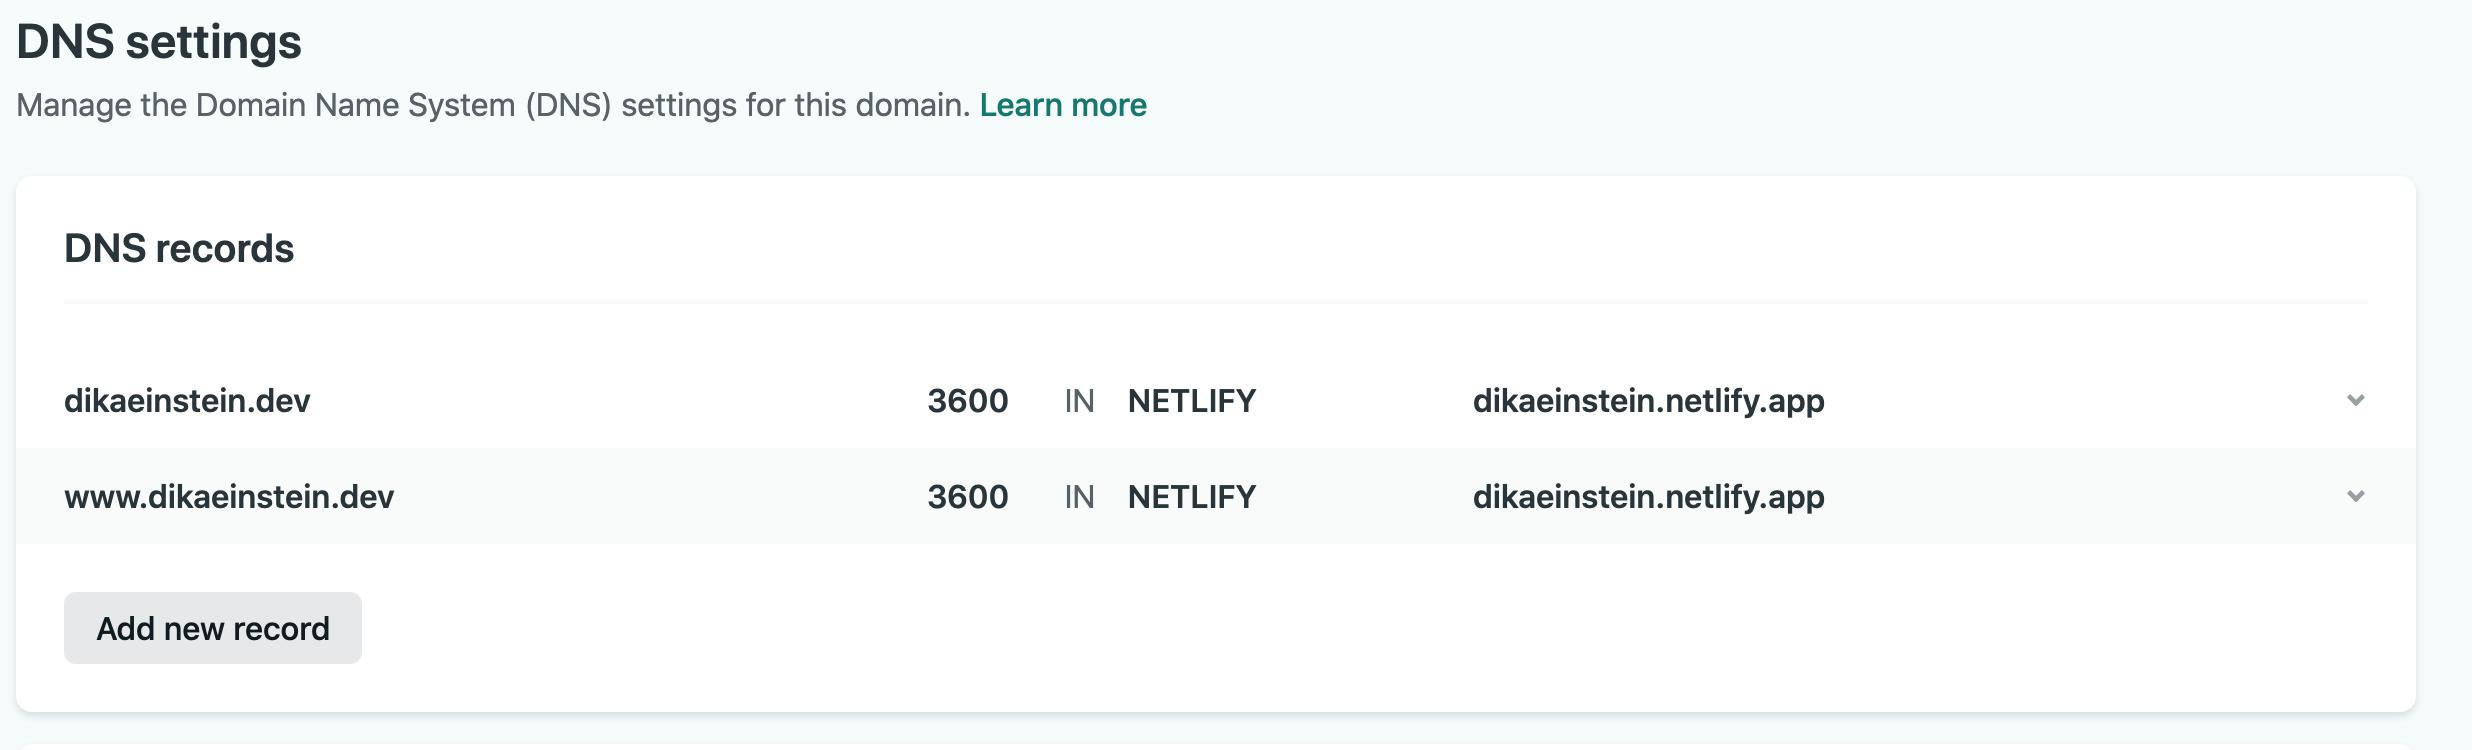
After waiting for some time for the DNS changes to propagate, at most 24 hours. You can test the domain to ensure it’s set up properly. Navigate to the different permutations of your site name:
Once they all work correctly, you are done!.